| Exclusively Manufactured and distributed by
Indiana Seal A GPK PRODUCTS Company |
1-800-428-5309
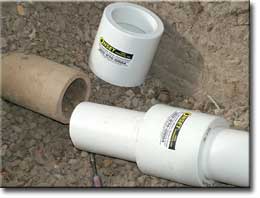
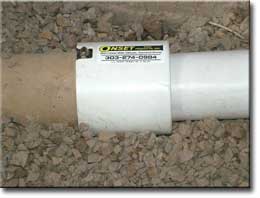
Installation Instructions
|
||||||||||||||||||||||||||||||||||
|
|
|||||||||||||||||||||||||||||||||


© Onset Pipe Products, Inc. All rights reserved.
Website design and hosting by EduCyber, Inc.